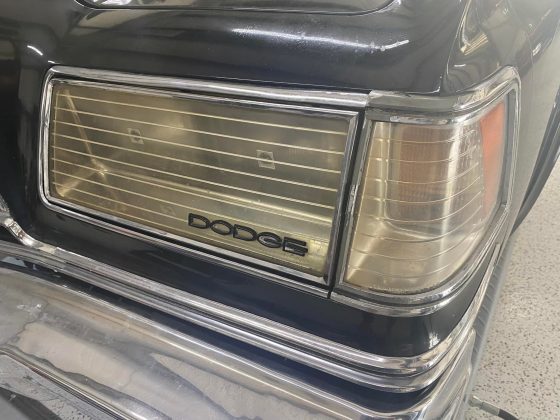
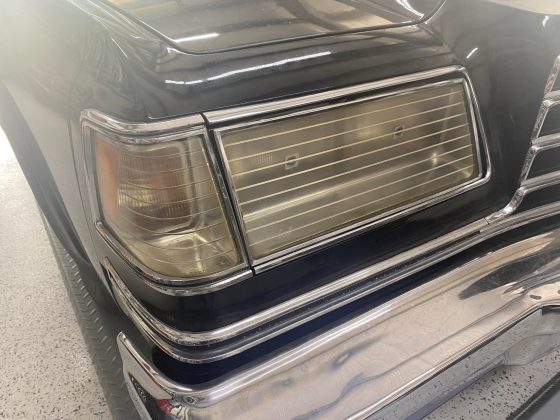
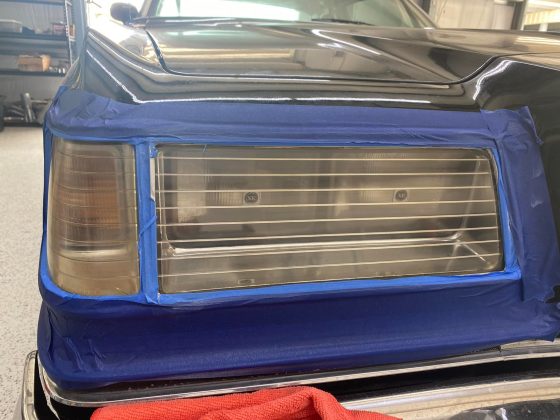
The one feature really unique to when Magnums were new is their clear headlight covers. Now every car has them, but in 1978 and 1979 it was an oddity. The sun really does a number on them. All have at least turned yellowish and cloudy, and the worst of them crack and leak. There was a time you could readily buy NOS covers, but they’ve pretty much dried up, and the few remaining are very expensive. A too often option used is to paint the covers black or body color. I’ve seen a couple blacked out cars where all of the chrome and clear has been eliminated. Some pull it off well, but to me – most don’t.
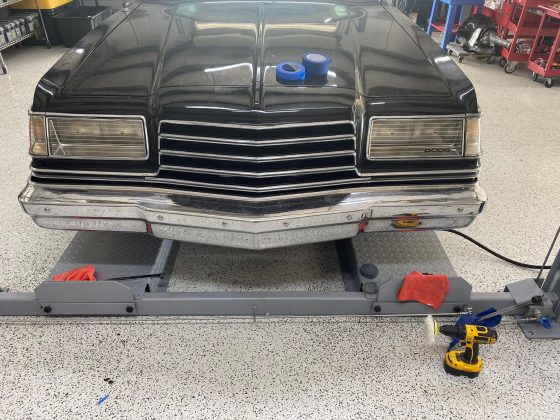
This article is on how to clear up most yellow and cloudy covers. The below are the before photos of my 79 GT. Of all of the Magnum covers I’ve worked on – these were in the best condition and took the least amount of work.
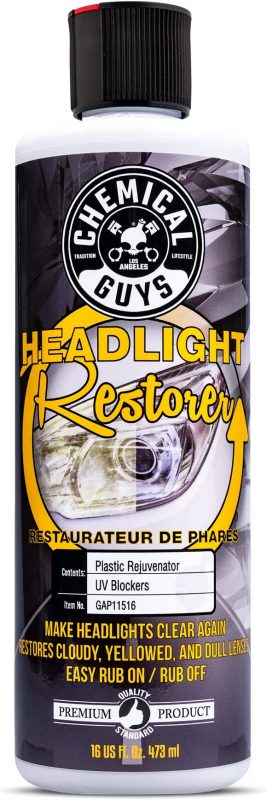
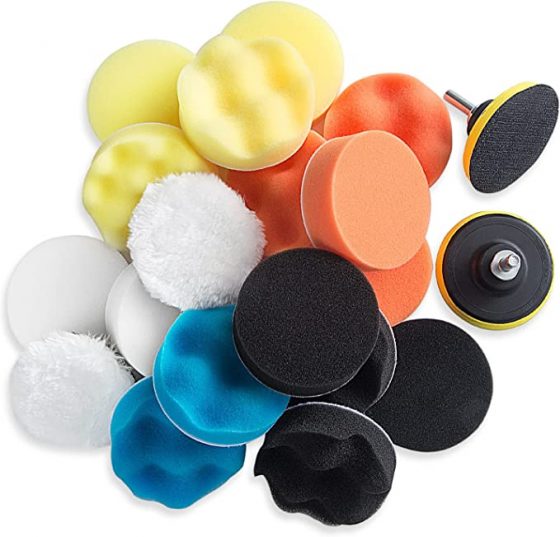
The below is what I ordered on Amazon to complete the job.
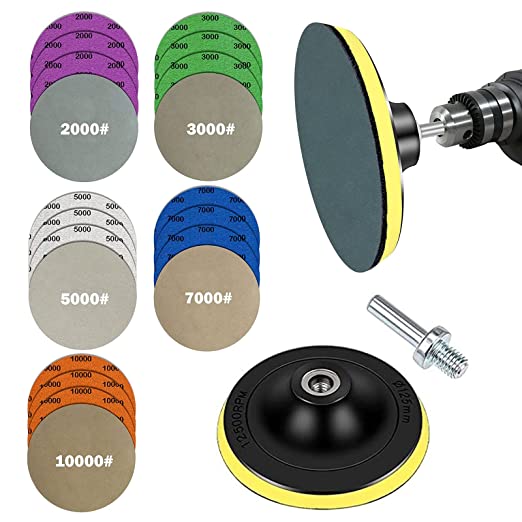

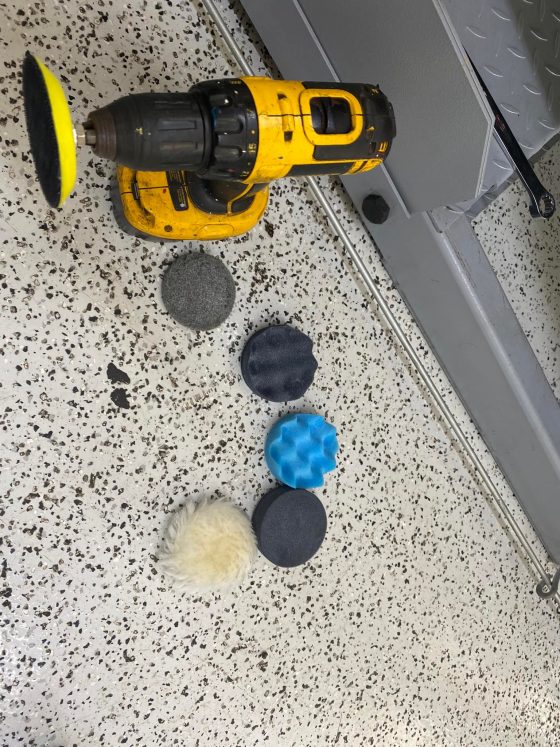
Since mine weren’t too bad, I started off with the finest grit of sandpaper, 10,000 grit. I mist a little water on the cover and sand a little. I then mist again and wipe with a clean Micro-fiber cloth and repeat until the yellow color goes away. I’ve had covers, many degrees worst, which required that I start at 5000 and move to 7000 prior to 10,000.
While the yellow color may have disappeared, it will still be cloudy, and that’s where the Polishing comes in. Working backwards, the flat black pad is the smoothest, then the scalloped black, and finally the blue. To me, all of the other pads might be too rough fir Polishing clear plastic. I break down the two covers and two corners down to four separate areas; and do one at a time.
I start with the blue pad (check the color chart as different brands might use different colors) with a spot of polish the size of a quarter. I use a variable speed drill at half speed, in the clockwise rotation. Move the pad from side to side, then up to down and then small circle directions. Every few minutes, wipe off the polish to inspect your work. Continue until you stop seeing improvement, then move to the black scalloped pad, again applying about a Quarter size of polish onto the pad. Wipe and inspect frequently, stopping when you no longer see improvement – then move on to the black flat pad for the final polish.
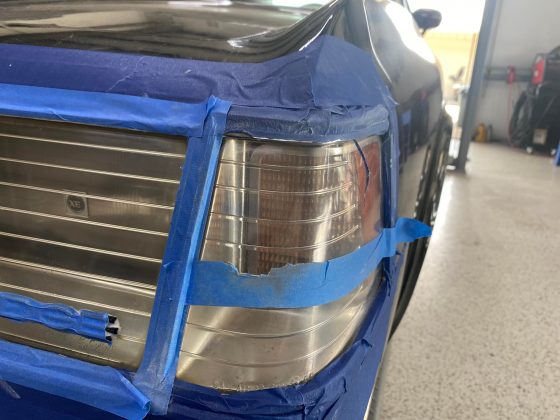

After the flat black pad, I clean all polish residue off and buff on them until I cease to see improvement. I happened to have some Meguiars UV head light spray – which I assume is clear spray paint for plastic. I misted a coat over the clear. Even though I masked a wide area around the clear, I used a spray mask to reduce any chance of over spray on paint. I often wondered if I could just use clear paint for plastic – or buff with carnauba wax without cleaning chemicals, but not yet tried.

They come out looking pretty good. You might want to be in the lookout for used headlight covers on Ebay, and freshening them up for a little coin.